With endless filling options, this Mini Quiche Meal Bar offers delicious flavor combinations that will satisfy even the pickiest eaters.
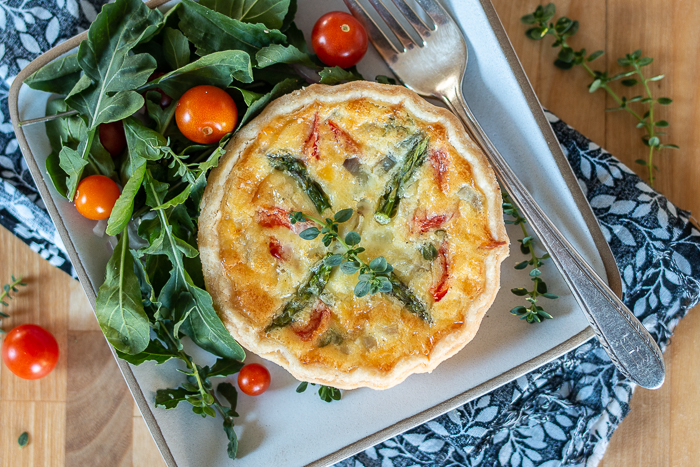 This Mini Quiche Meal Bar is the newest addition to my family’s meal bar rotation. With so many possible ingredient combinations, I’m pretty sure we’ll never get tired of it.
Meal prep that encourages active participation sets the stage for my absolute favorite kind of meal. Since everyone customizes a perfect combination of fillings, each person gets exactly he or she wants.
That means everyone — even the pickiest of eaters — is happy!
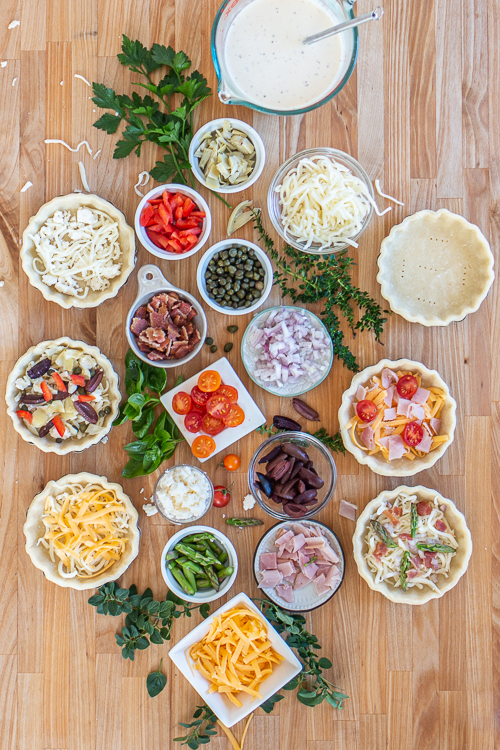
Best of all, though, meal bars are just fun, and this quiche bar is no exception! At my house, we all gather in the kitchen to work together and get our hands dirty while assembling different combinations of cheeses, vegetables, and cooked meats in little tart shells.
There are a million ways to fill a quiche. Watching others add various filling combinations always expands my own quiche horizons!
No Prebaking Needed!
I’ve never been a fan of prebaking pie crusts, and I was determined to manage this recipe with out the extra step of blind baking little tart shells.
As I tested, I kept adjusting the baking temperatures and times to balance the needs of the crust and the filling in tandem.
I started baking with higher temperatures at the beginning, and then dropping down to finish the quiches without burning the filling. After countless variations, I just couldn’t get it right!
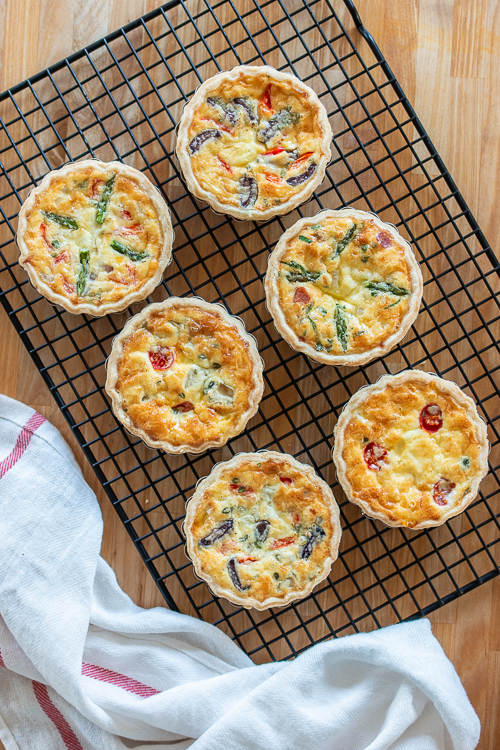 Finally, when I flipped my method, starting at a lower temperature and finishing at a higher one, I achieved a crisp, lightly browned crust along with a perfectly-cooked, light and tender filling.
Preparing the Pastry Dough
While it needs chilling time, this rich, buttery pastry dough comes together super quickly.
As you work, be sure to leave visible chunks of butter when you cut it into the flour. They make the finished crust extra flaky!
Once the dough holds together, press it into a flat disk and refrigerate it for about 30 minutes.
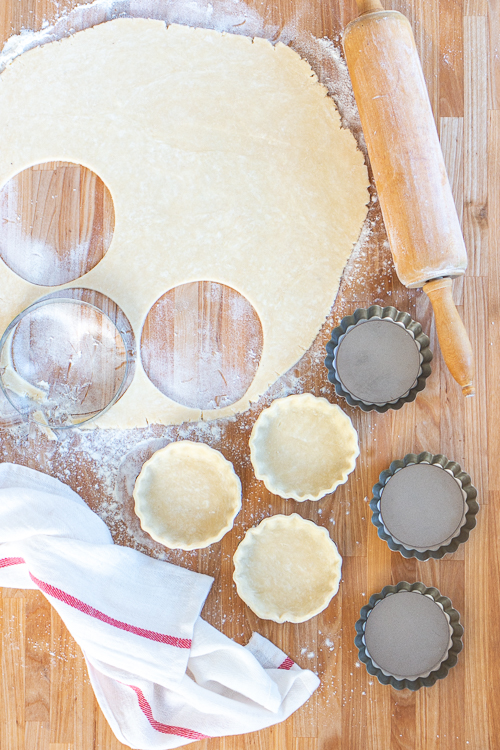 Roll the rested, chilled dough to about 1/8-thickness and use a round cutter to make 4 1/4 to 4 1/2-inch circles of dough. These nestle perfectly into 4-inch tart pans with removable bottoms.
I also made these quiches with mini silicone tart pans. Interestingly, I needed a larger 5-inch cutter to get the tart shells to fit properly.
Because the flexible silicone pans stretch out as you fill them, the dough tucks in differently. The tarts turned out fine, but I much prefer to use the metal pans because I find them easier to use.
Once you’ve filled the tart pans, prick the bottom dough surface with a fork and chill them for at least an hour.
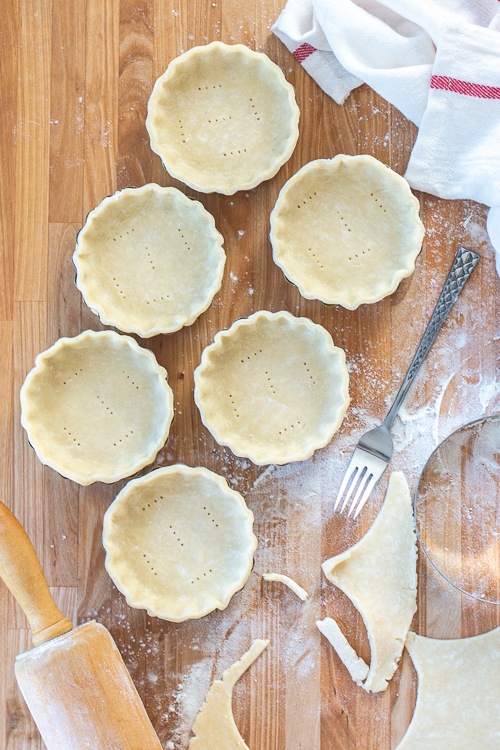 Chilling the tart shells helps them hold their shape during baking. This step is especially important since the dough will warm up a bit during prep time if you create a meal bar.
Mini Quiche Bar Fillings
Prepare the egg and cream mixture while the tart shells chill. I like to mix it in a spouted measuring cup so it’s easy to pour into the quiches once they’re loaded with various ingredients.
As for filling ingredients, a combination of cheeses, precooked meats, veggies, and herbs offers endless possibilities.
Using a variety of cheeses is one way to add personality to quiche. In addition to cheddar, Gruyere, or mozzarella, try stronger cheeses like blue, feta, or goat. Since they’re super flavorful, I usually mix them with a milder cheese that melts better, like mozzarella.
Start with a layer of cheese, which helps keep the bottom crust crisp, and add other ingredients on top of it.
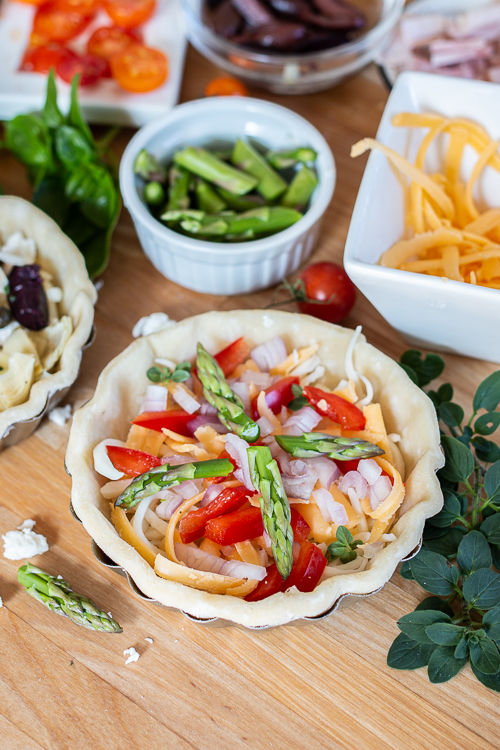 Because they’re so small, each quiche only need a tablespoon or two of chopped fillings.
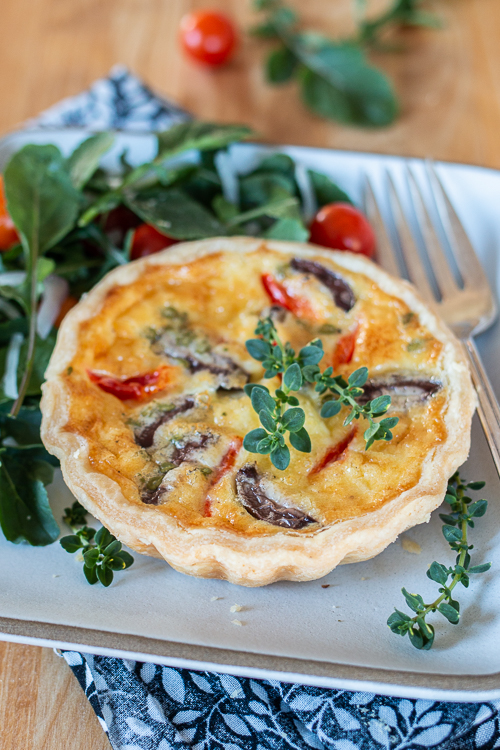
If you have leftover ham, bacon, chicken, or steak on hand, this is a great way to use it! As for veggies, our favorites include cherry tomatoes, red peppers, and asparagus. Olives, capers, and artichoke hearts, as well as freshly snipped herbs, add great flavor.
Prepare a selection of ingredients that you know your family will like or just let everyone grab what they want to save yourself the trouble.
If you go the route of chopping up various ingredients in advance, you may have leftovers depending on what people pick and choose for fillings.
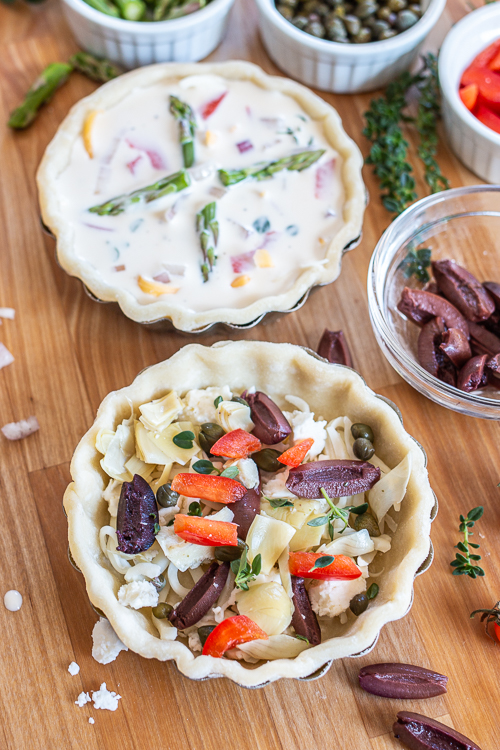 I’ll often toss the remaining ingredients into a salad to round out the meal. It turns out what tastes good in quiche usually works well in salad, too!
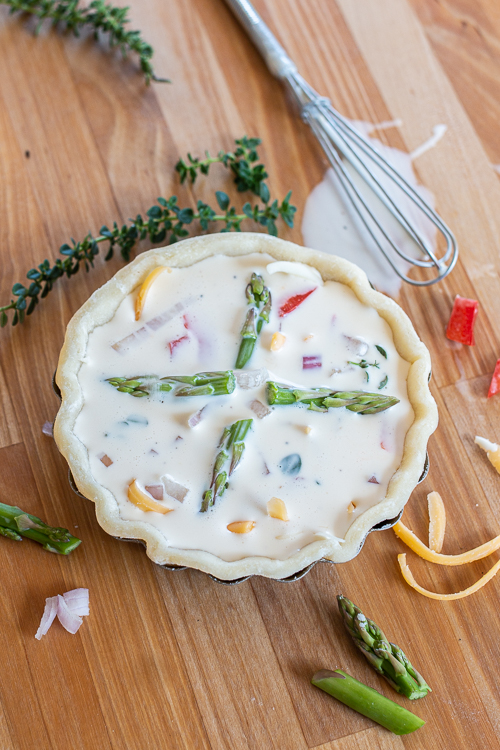
Once all the tart shells are filled, pour in the egg-cream mixture, stopping just below the top edge of the pastry shell.
Depending on how full the tart shells end up, there will likely be some leftover filling. Don’t try to overfill the shells!
Baking Mini Quiches
Bake the filled quiches for 30 minutes at 350° F and then increase the heat to 400° F. Bake until the crust turns pale golden brown, about 5 to 7 minutes.
Let the quiches cool for about 5 to 10 minutes before popping them out of the tart pans to serve.
Mini Quiche Serving Ideas
These little quiches make a satisfying main dish for dinner, lunch, or brunch.
They’re on the small side, so you’ll want to serve them with a big salad, a generous bowl of soup, or other side dish.
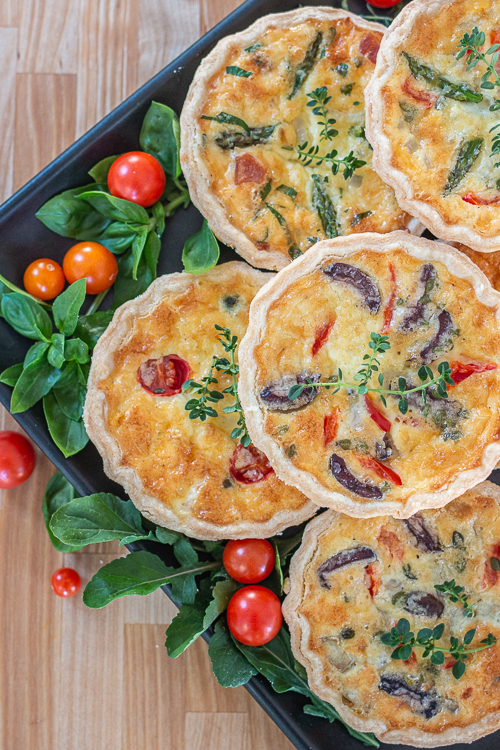 In addition to family meals, this Mini Quiche Meal Bar would add fun and festivity to any party involving a meal. The recipe increases well if you need extra tarts!
Mini Quiche Meal Bar
Equipment
Ingredients
Pastry Dough
- 1 1/2 cups unbleached all-purpose flour
- 1/2 teaspoon kosher salt
- 2 teaspoons confectioners' sugar
- 1/8 teaspoon freshly grated nutmeg
- 3/4 cups unsalted butter
- 3 tablespoons ice water strained
Filling
- 3 large eggs
- 1 cup heavy cream
- 1/2 teaspoon kosher salt
- 1/4 teaspoon pepper
- 1 1/4 cups grated or crumbled cheese like cheddar, Gruyere, mozzarella, Parmesan, blue, feta, goat, etc.
- 1 cup chopped vegetables and cooked meats like asparagus, tomatoes, peppers, or shallots for veggies and ham, chicken, or bacon for meats.
- freshly snipped herbs like parsley, thyme, basil, or oregano
Instructions
Pastry Dough
- Whirl dry ingredients for crust in the bowl of a food processor. Add half the butter and process until you no longer see chunks. Add remaining butter and process briefly, leaving chunks the size of peanuts.
- Working quickly, turn on the food processor and pour the ice water through the feed tube, stopping before the dough comes together. Pinch a bit of the dough between your fingers. If it does not stick together, add a little more water and whirl briefly.
- Turn out the dough onto a large piece of plastic wrap. Use the plastic wrap to help you create a large, flat disk: fold the edges of the dough toward the center and press down to smooth out the roughness. Refrigerate dough for at least 30 minutes.
- Roll the dough into a large circle about 1/8-inch thick. Using a 4 1/2 inch cutter, stamp out circles of dough (if using silicone tart pans, use a 5-inch cutter). If needed, reroll scraps to cut a total of 6 circles.
- Nestle the rounds of dough into 4-inch tart pans with removable bottoms. Pick the bottom with a fork. Set the tart shells on a rimmed baking pan, cover with plastic wrap, and chill for at least one hour.
Filling and Baking
- Preheat oven to 350° F.
- In a spouted measuring cup that holds at least a pint, whisk together eggs, cream, salt, and pepper. Refrigerate until needed.
- Grate cheeses and chop meats, vegetables, and fresh herbs.
- Spread 2 to 3 tablespoons of cheese on the bottom of each tart shell. Top with about 1 to 2 tablespoons of other filling ingredients.
- Once all the shells have been filled, return them to the rimmed baking pan before adding the egg and cream mixture. Whisk the mixture briefly and pour it into the shells, stopping below the top edge of the pastry crust. You may have extra filling depending on how full of ingredients the tart crusts are.
- Bake immediately in the preheated oven for 30 minutes. Increase heat to 400° F and bake until the crust is pale golden brown, about 5 to 7 minutes.
- Let the quiches cool for 5 to 10 minutes before removing them from the tart pans to serve.
Some of the links in this post are affiliate links. If you click through and make a purchase, I earn a small commission for my referral at no additional cost to you. Thank you for supporting Flour Arrangements.



The bacon makes the quishe delicious
I agree! It’s one of my favorite toppings!